PZ5-BAT External Charger
PZ5-BAT Overview
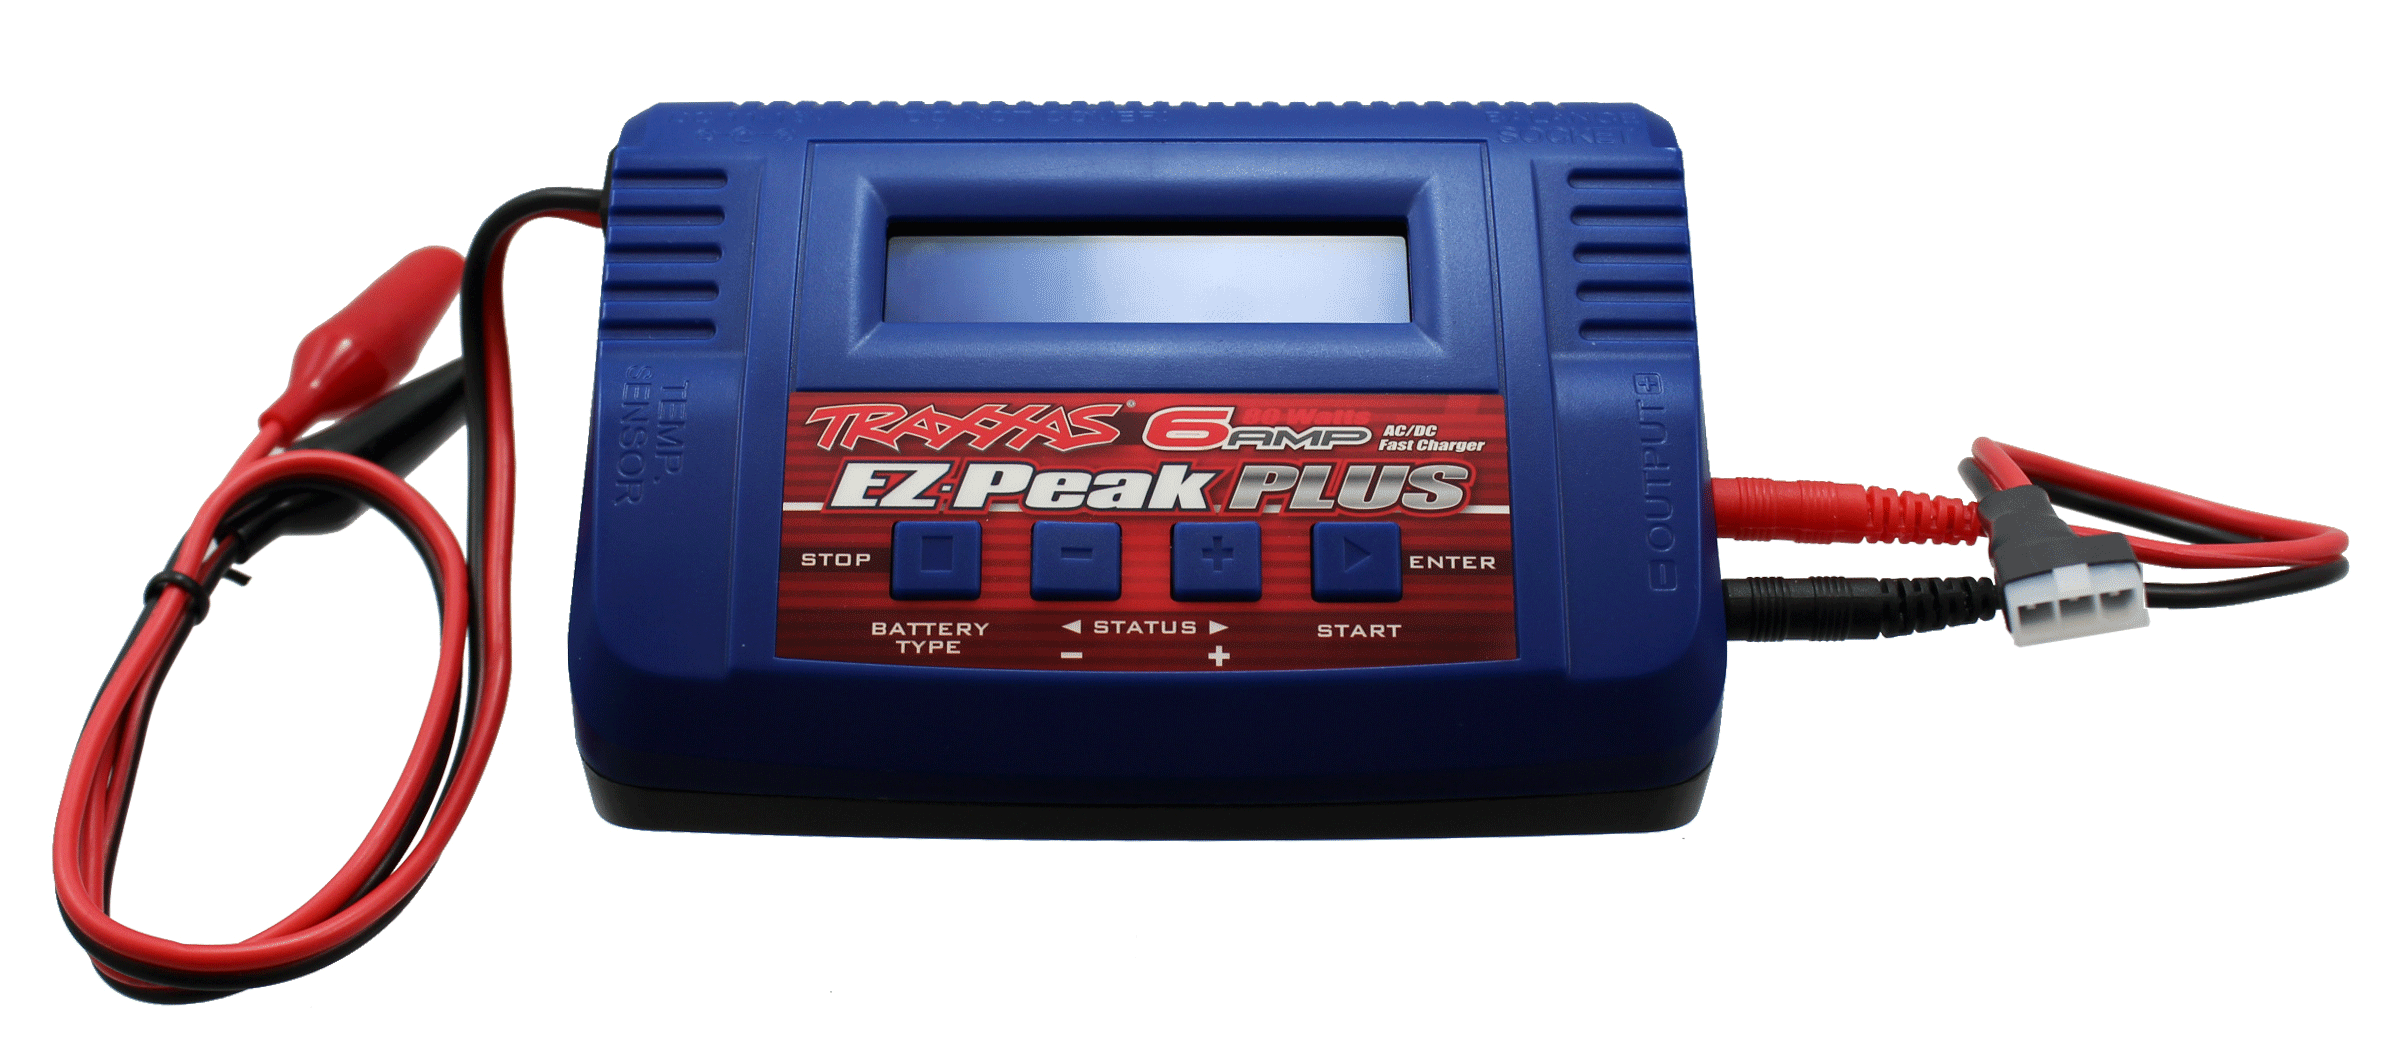
The PZ5-BAT is an external battery charger for the PZ5 or SIM's 32 Ahr Lithium-ion user-serviceable battery pack. The PZ5-BAT unit is comprised of an off-the-shelf programmable charger that has been pre-programmed for use with the PZ5 battery pack, and a custom connector cable.
Using the Charger
The instructions below are the same for both the PZ5 and SIM devices.
Remove the Battery pack
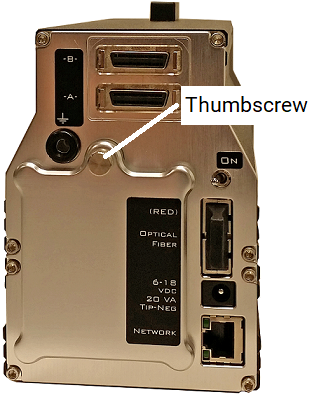
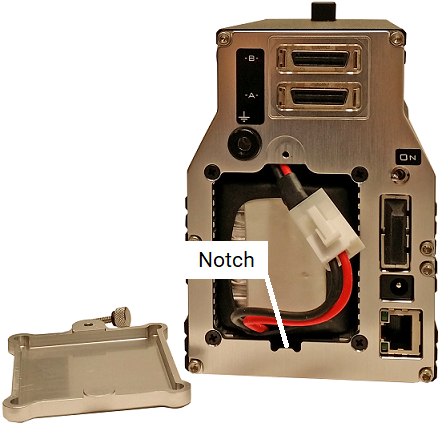
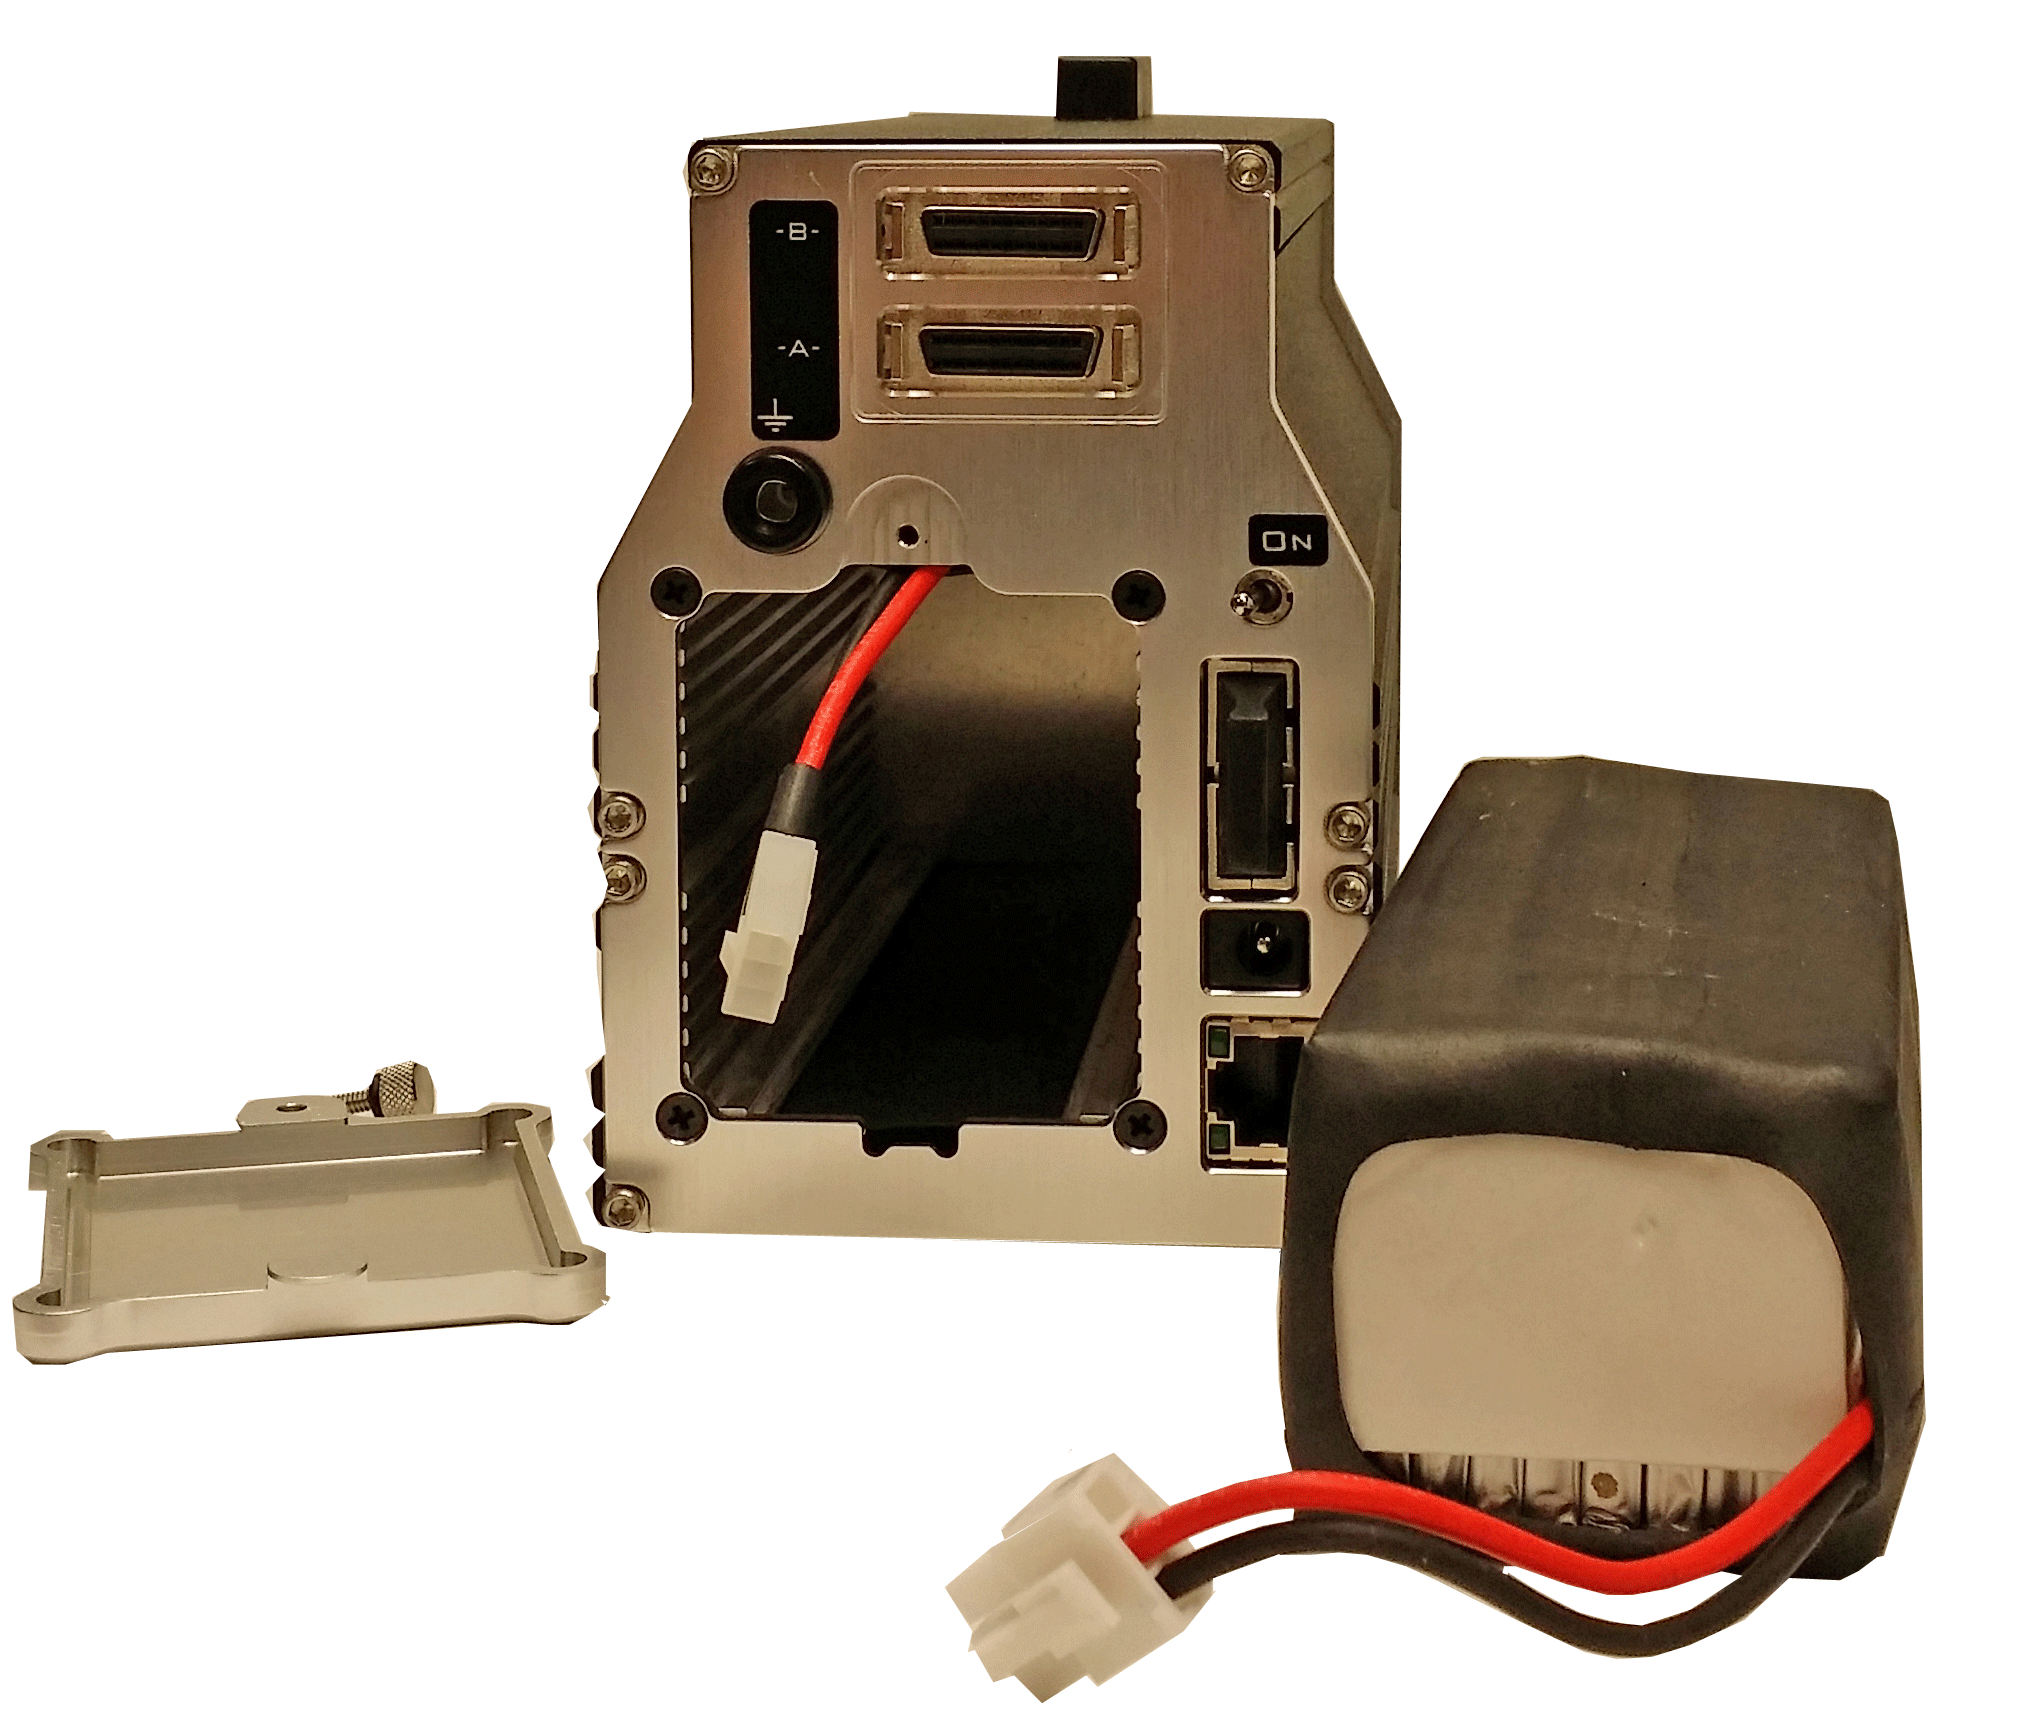
Before using the external charger, you will often need to remove the battery pack from the device. The PZ5 battery cover is located on the back side and is held on by a single thumbscrew at the top and a simple notch at the bottom.
-
Unscrew the thumbscrew then lift and pull away the battery cover.
-
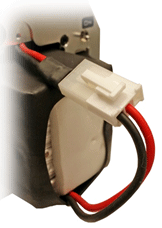
The connector between the batter pack and the device will be immediately visible. Press down on the tab to release the connection then gently pull the battery pack free from the device.
Charge the Battery
-
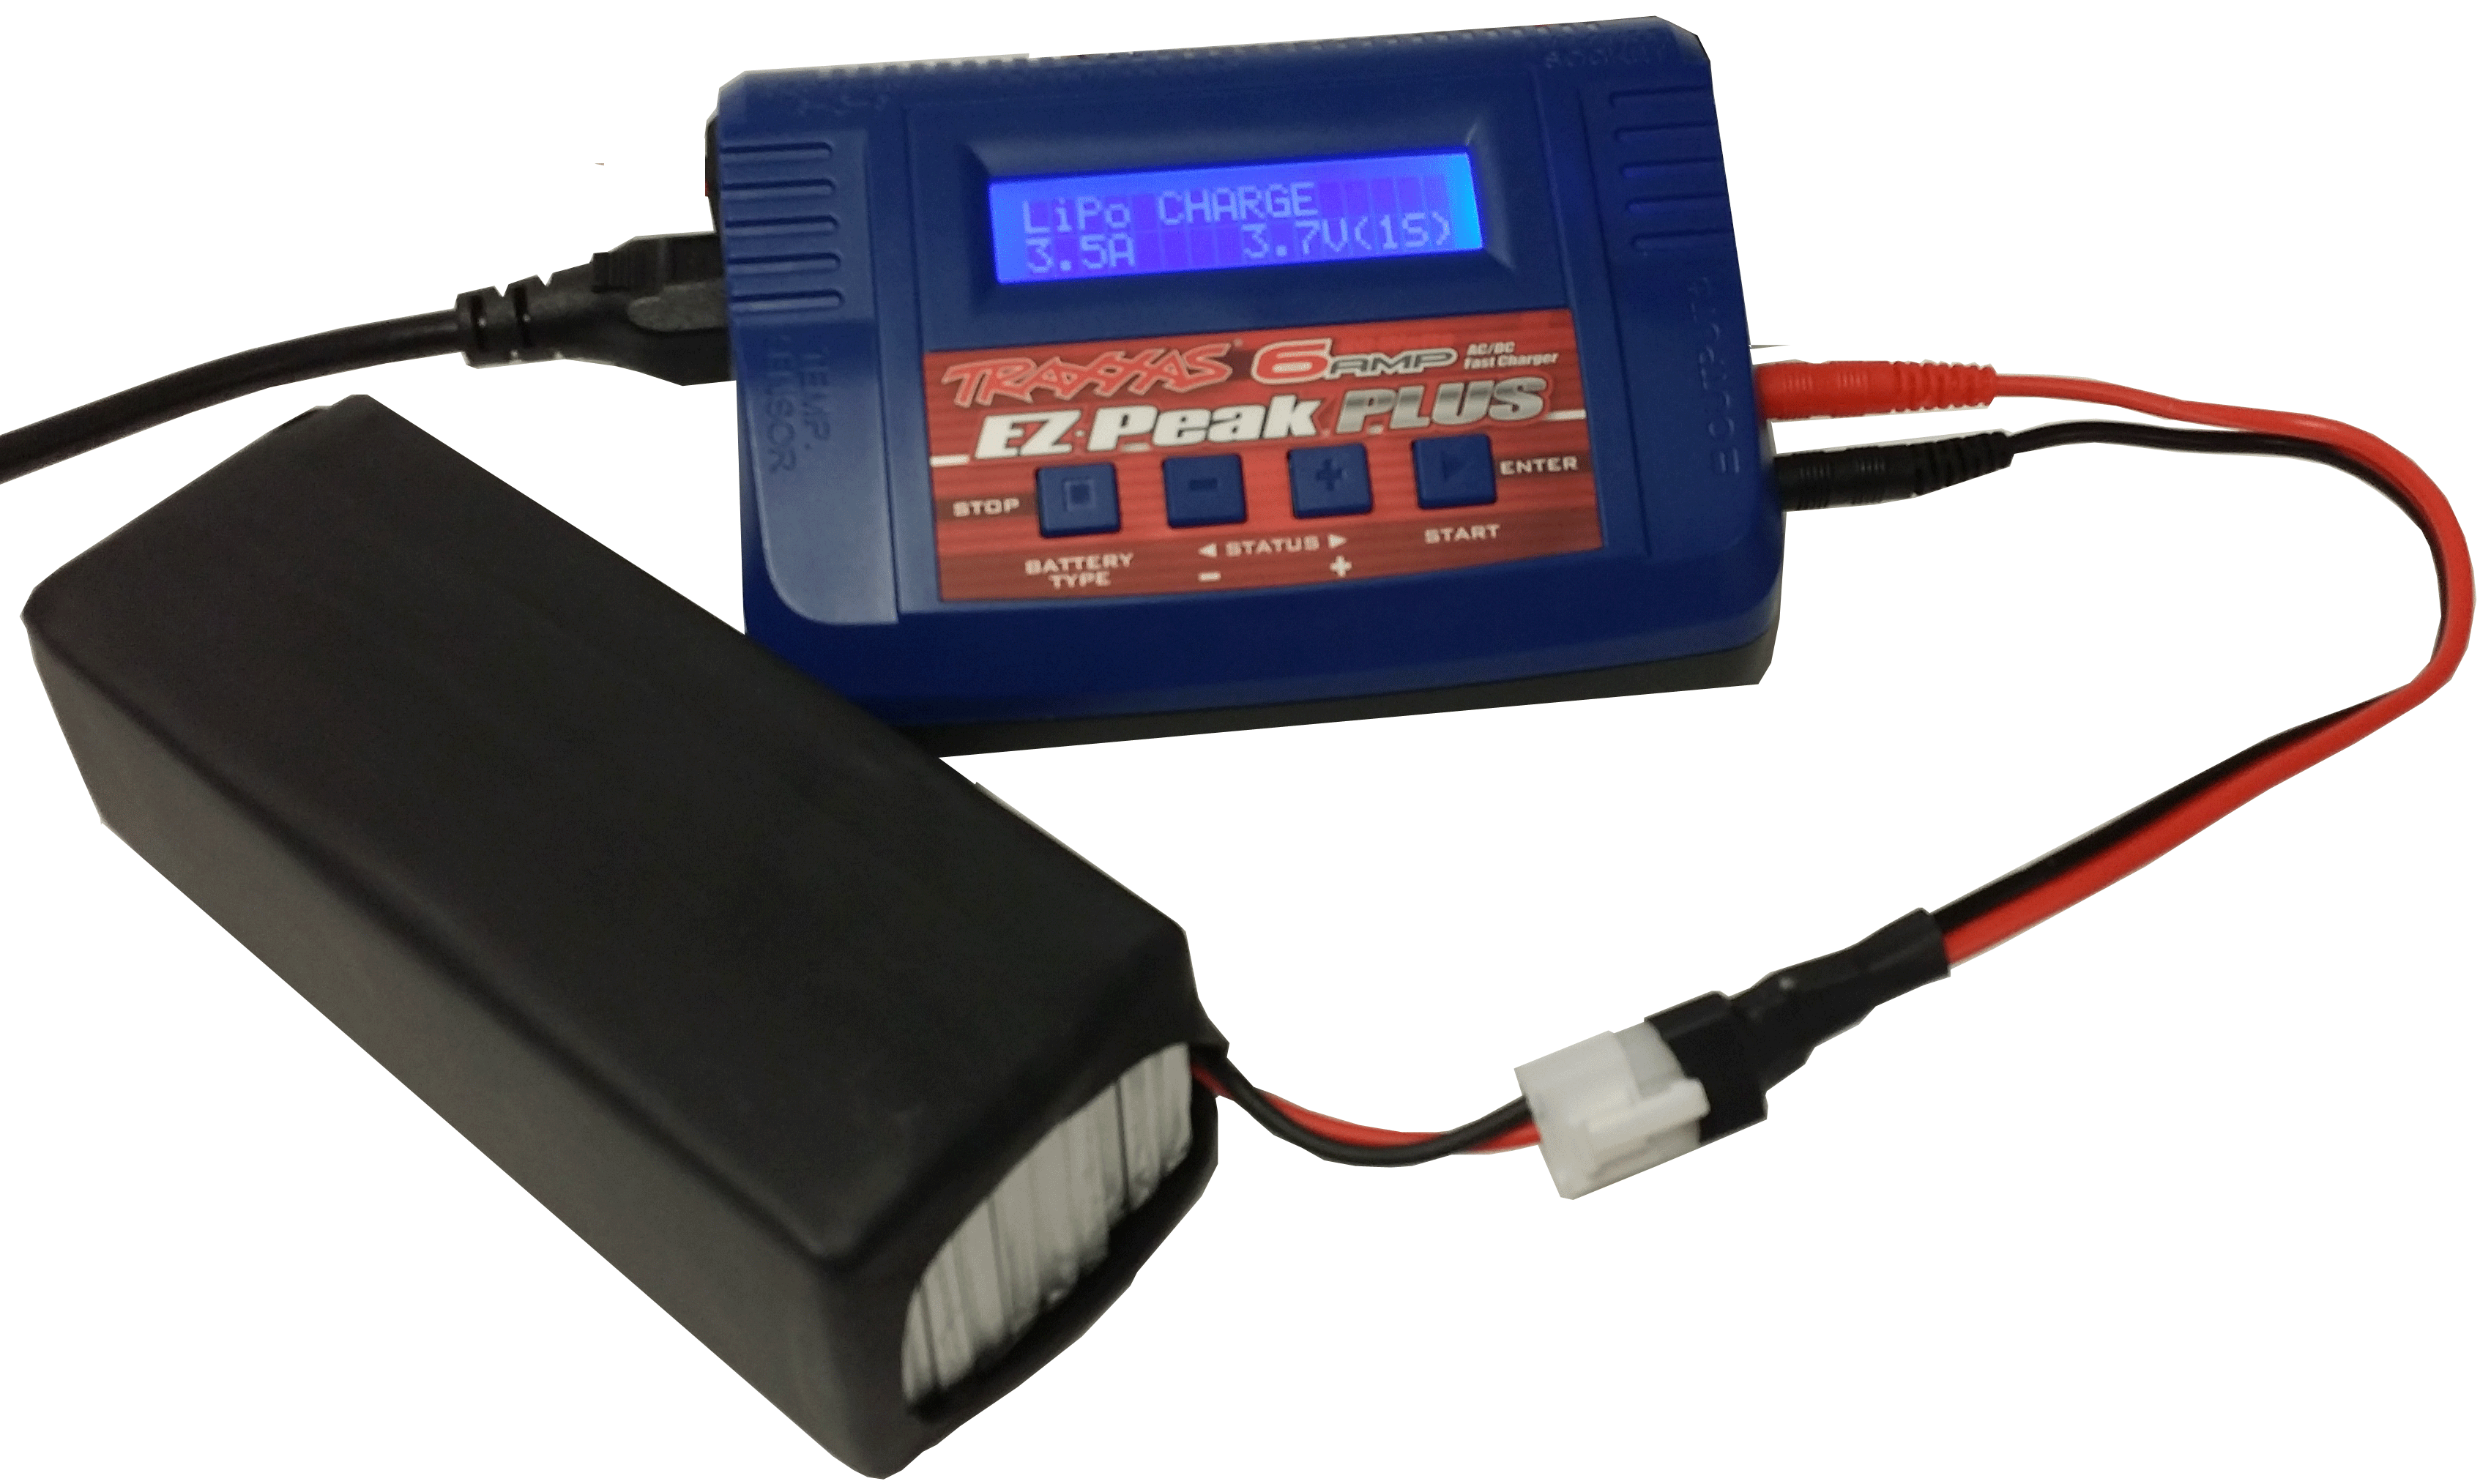
Power on the charger by plugging it in to AC power with the provided cable.
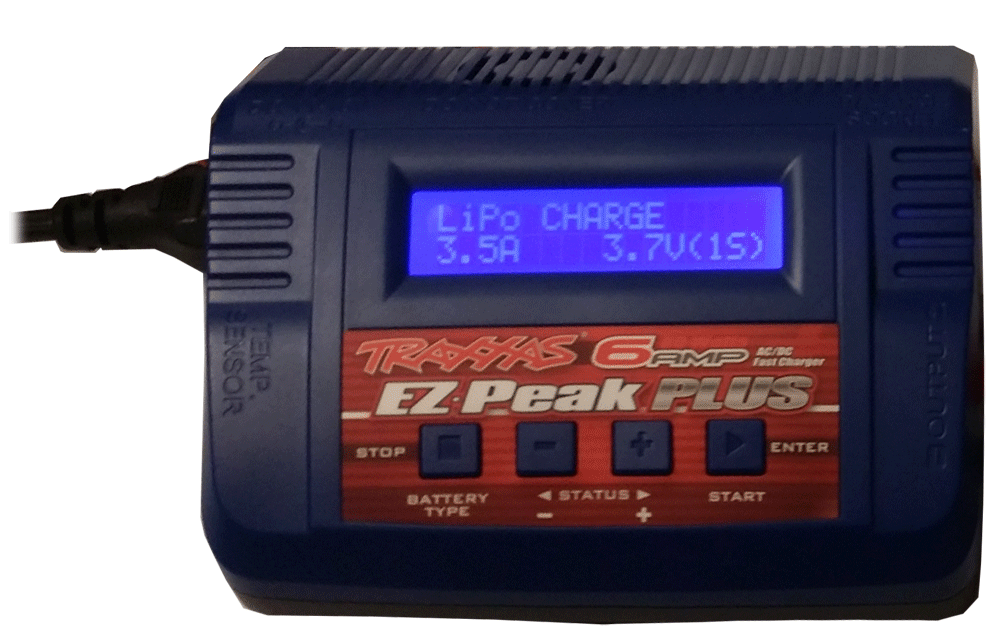
Upon power up, verify the display reads "LiPo CHARGE" on the first line and then "3.5A" and "3.7V(1S)" on the second line.
Note
If this message is NOT displayed see Charger Programming Instructions below.
-
Plug the battery pack into the charger using the custom connector cable.
-
Press and hold the ENTER (Start) button to begin. The charger will check the battery to verify that it is okay to charge.
-
When the check is complete, press the ENTER (Start) button again to CONFIRM and then it will begin to charge.
-
Charging will stop (no numbers changing on the display) when the battery pack is fully charged.
Install a Battery Pack
While the battery pack is charging you can install an alternate pack in the PZ5, or when charging is complete re-install the charged pack.
-
Connect the pack's cable to the PZ5 cable. The connectors are keyed to prevent miswiring and snap in place when securely connected.
-
Gently slide the battery into the unit. Ensure that the cable is tucked inside the opening.
-
Line-up the tabbed end of the cover with the notch at the bottom of the opening and slide it into position.
-
Use the thrumbscrew to securely attach the cover.
Charger Programming Instructions
When powering on the charger the display should read:
LiPo CHARGE

3.5A     3.7V(1S)
If the expected message is not displayed, the settings may have been erroneously changed and it may be necessary to re-program the unit.
Before re-programming, try pressing the ENTER (Start) button. If the display changes to display the beginning message above, return to the Charging Instructions, step 2.
 |
| To program the charger: |
-
Upon power up, press and hold the BATTERY TYPE button until the display reads, "PROGRAM SELECT LiPo BATT" then press the ENTER (Start) button.
-
Verify the display reads "LiPo CHARGE" on the first line and then "3.5A" and "3.7V(1S)" on the second line.
-
If the display does not read 3.5A, then press the ENTER (Start) button to change the charge rate. Press the '+' plus or '-' minus Status buttons to adjust the value to 3.5A. When 3.5A is displayed, press the ENTER (Start) button.
-
Verify that "3.7V" is blinking. If not, use the '+' plus or '-' minus Status buttons to adjust the value to 3.7V and then press the ENTER (Start) button.
LiPo CHARGE 3.5A 3.7V(1S) -
Press the BATTERY TYPE button until the display reads, "USER SET PROGRAM". Then press the ENTER (Start) button.
USER SET Program-> -
Press the '-' minus Status button (4 times) until the screen reads "SAFETY TIMER".
-
Press the ENTER (Start) button and then press the '+' plus Status button to set the timer to "OFF".
-
Press the ENTER (Start) button twice and verify that "OFF" is no longer flashing.
SAFETY TIMER OFF 120min -
Press the '+' plus Status button (once) until the screen reads "CAPACITY CUT-OFF"
-
Press the ENTER (Start) button twice and then press the '+' plus Status button to change the capacity to "40000 mAh".
CAPACITY CUT-OFF OFF 40000mAh -
Press the ENTER (Start) button and verify that "40000" is no longer flashing.
-
Press the BATTERY TYPE button (twice) until the display reads, "PROGRAM SELECT LiPo BATT". Then press ENTER (Start) button.
-
Verify the screen displays the following:
LiPo CHARGE 3.5A 3.7V(1S) -
The charger is ready to use.